How to Create Custom VJ Loops for LED Walls
Creating eye-catching visuals for LED walls is easy with VJ Loop Studio. Follow this guide to design, customize, and export your own VJ loops for any LED installation.
1. Start a New Project
- Open VJ Loop Studio and click New Project.
- Choose your LED wall resolution (e.g., 192x64, 384x128, or custom).

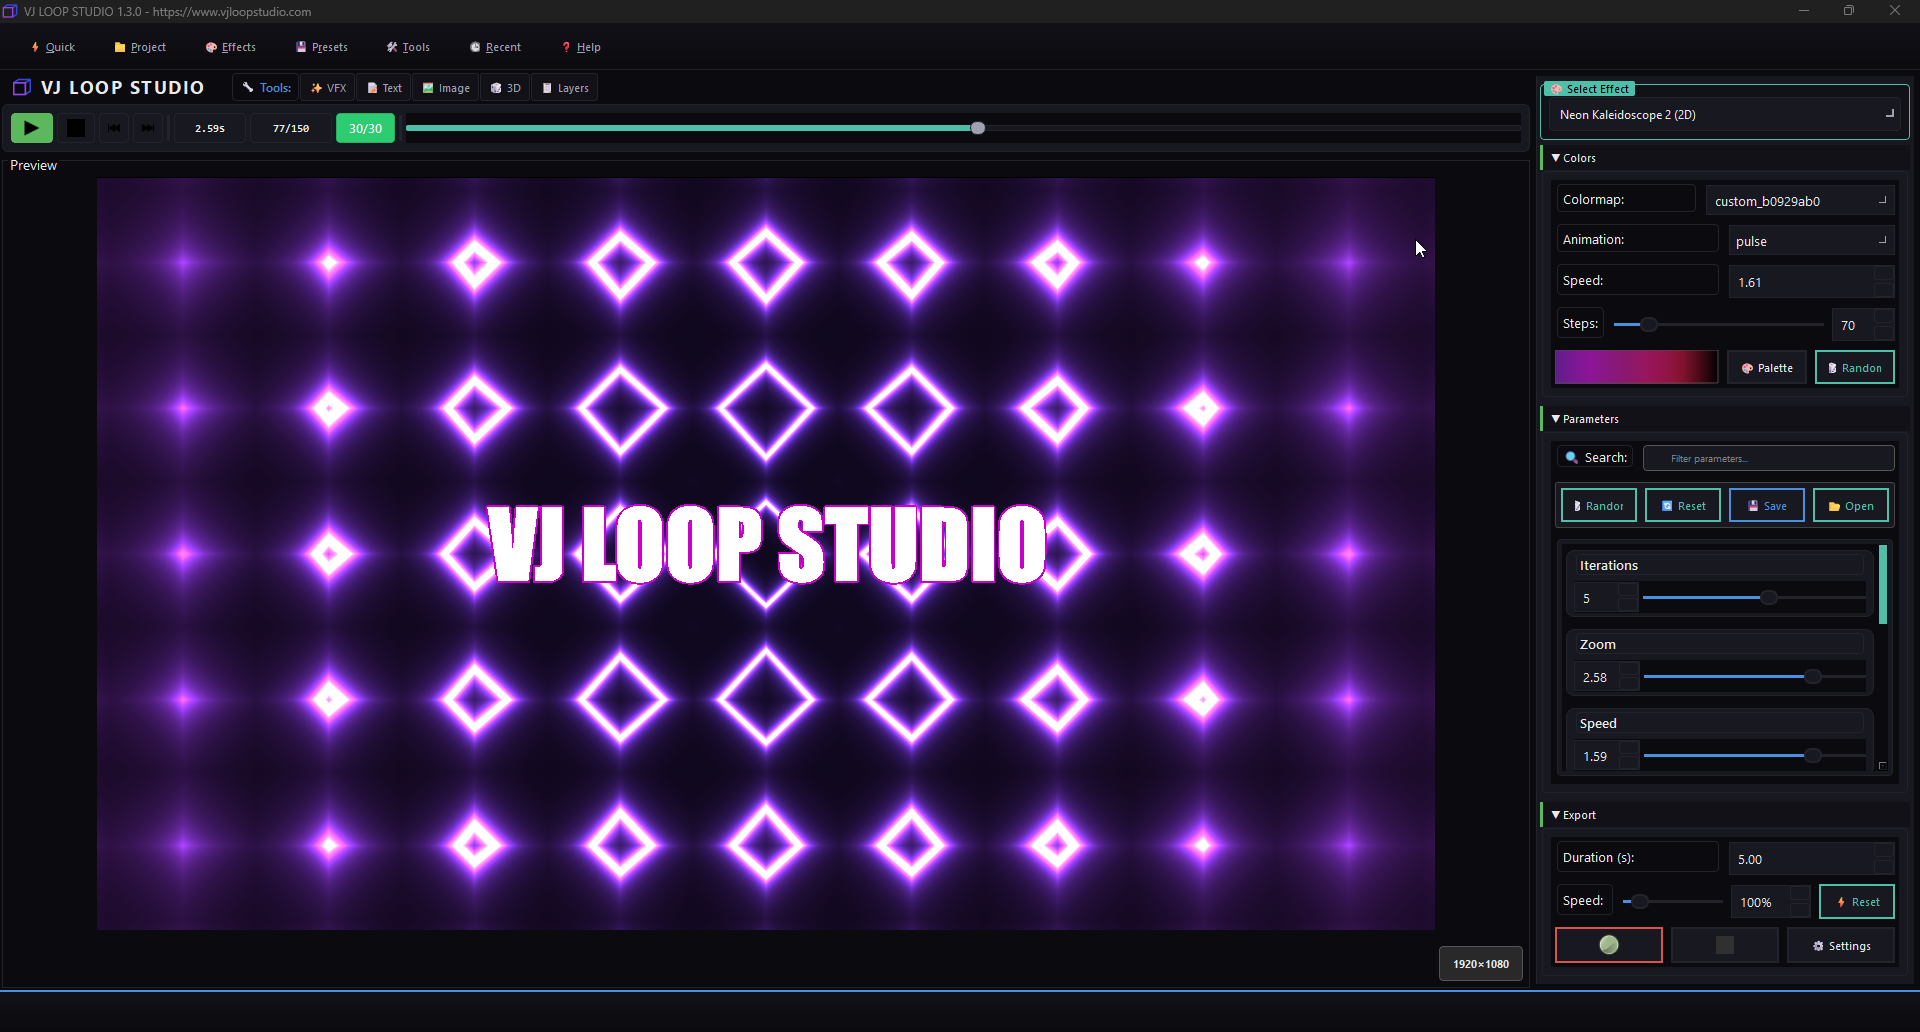
2. Select an Effect Generator
- Browse the built-in effect generators:

- Try effects like Matrix Rain, Bars, Grid, or 3D Cubes for LED walls.

3. Customize Colors and Parameters
- Use the color editor to match your LED wall’s palette.

- Adjust effect parameters for speed, direction, and animation style.

4. Preview and Fine-Tune
- Use the real-time preview to see how your loop will look on an LED wall.
- Make adjustments until you’re satisfied.
5. Export Your Custom Loop
- Click Export and choose the correct resolution and format for your LED controller.
- MP4 or AVI is recommended for most LED software.

6. Load Into Your LED Software
- Import your exported loop into your LED wall software (e.g., LedEdit, Jinx!, Madrix).
- Set the loop to repeat for continuous visuals.
Pro Tips
- Use high-contrast colors for maximum LED impact.
- Test your loop on the actual LED wall before your event.
- Save your favorite settings as presets for future projects.
Ready to create your own visuals? Download VJ Loop Studio and start designing today!