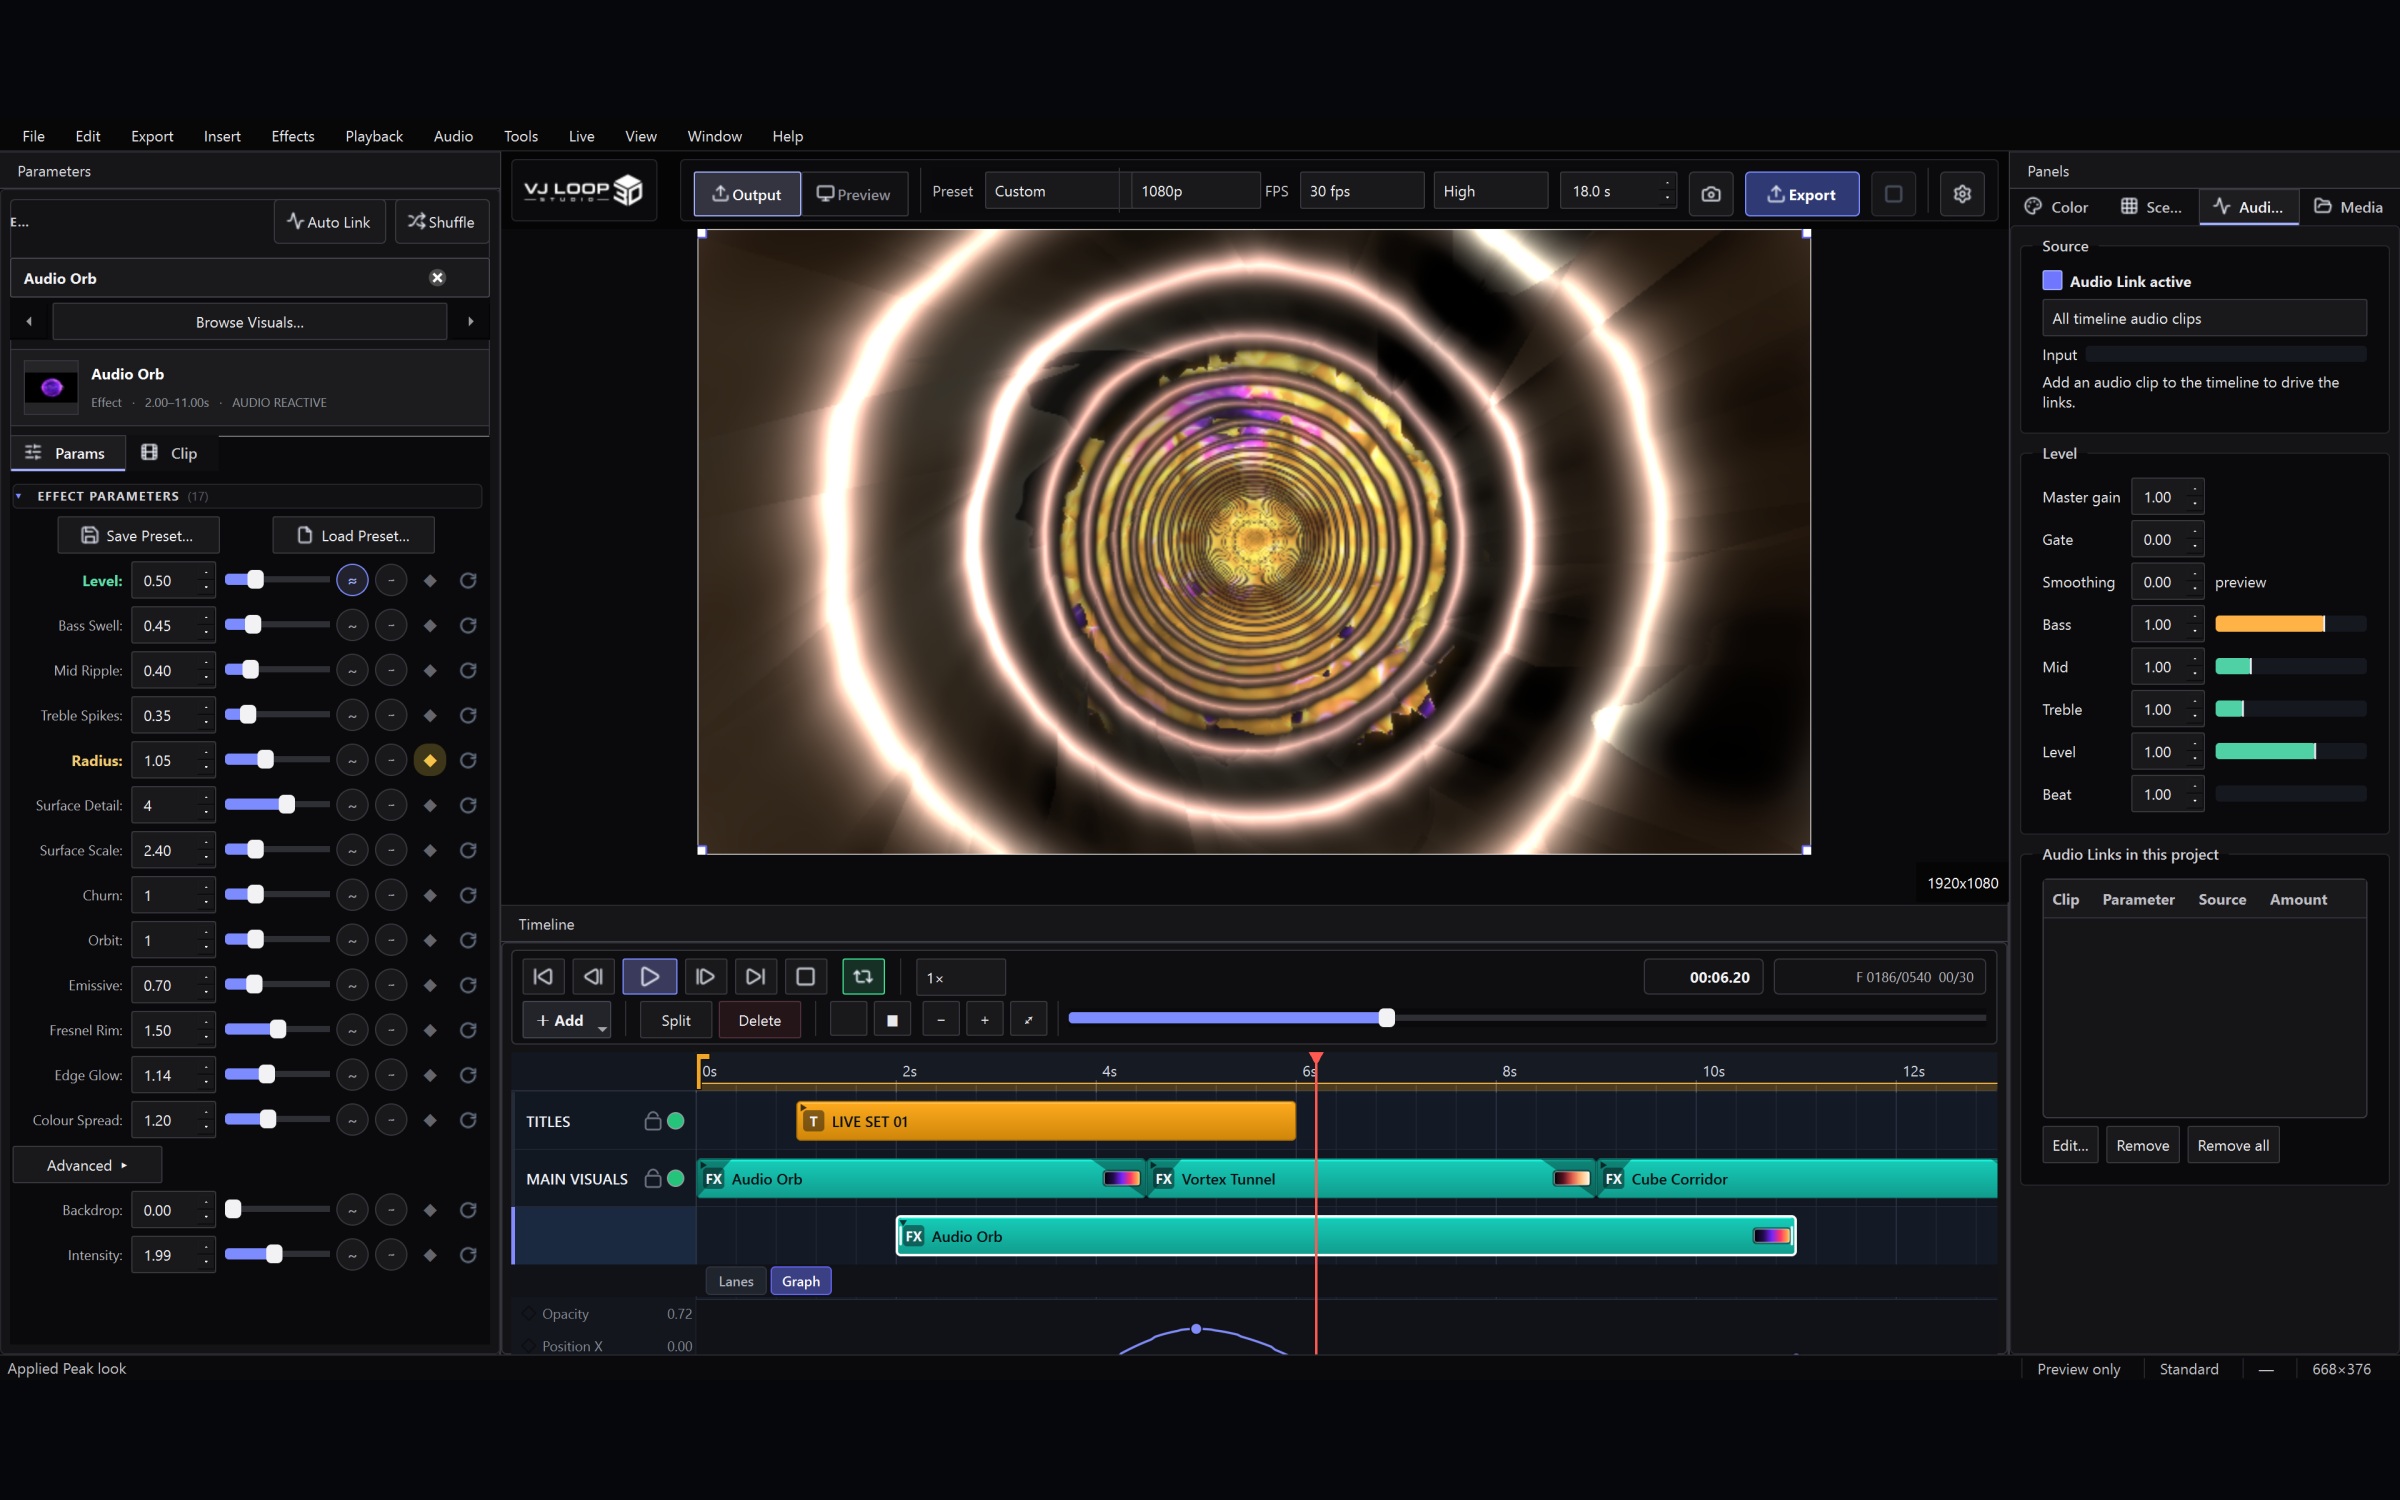
This is the checklist to work through before a set, in the order that matters. It assumes you already have a project with a few scenes in it.
1. Open the Live Console first
Ctrl+Shift+L. Everything below lives in this one window, and it is non-modal — put it on your laptop screen with the main window on the other display and leave it open.
The Status block at the top tells you what is actually going out and how fast frames are being drawn. If something is not reaching the projector, this is where you will see it.
2. Choose your output
Three ways out, and they are not exclusive:
- Second screen — the simplest. Tick the display in the Outputs group. The mirror window goes fullscreen on that display.
- Spout (Windows) — shares frames with another application on the same machine: Resolume, OBS, a mapping tool.
- NDI — sends frames over the network. Use this when the machine driving the screens is not the machine running the software.
Test the path you will actually use, at the venue if you can. NDI in particular depends on the network being sane; a switch that works for laptops does not always carry uncompressed video comfortably.
3. Set output quality deliberately
Two controls in the console, and the defaults are chosen for safety rather than quality:
- Resolution — Preview res reuses the frame already drawn for your preview. Full res re-renders at output resolution and costs considerably more. On a strong machine with one output, full res looks better. On a laptop driving three, it will cost you frames.
- Frame rate — 30 fps is enough for most content. Choose 60 only if your output chain genuinely runs at 60 and you have the headroom.
If the preview stutters, drop resolution before you drop frame rate. Stutter is more visible than softness.
4. Map a controller
Live → MIDI Controller… Connect your device, pick a target, click Learn, then move the control you want.
Two things worth setting up properly:
Put blackout on a pad. Choose Blackout (toggle) as the target and hit a pad. This is the control you will reach for when something goes wrong, so give it a pad you can find without looking. Blackout cuts output to black without stopping playback, so the timeline keeps running and the show resumes in sync.
Tell the software what kind of knobs you have. If a knob jumps to an extreme on the first click, it is an endless encoder being read as an absolute position. Set Knob type to one of the encoder modes before learning that control. Most controllers mix both kinds, so this is per-binding.
Also worth mapping: Next Scene and Previous Scene, or Launch Scene 1–4 if your set is built around specific looks.
5. Set scene crossfades
The scenes bar has a duration next to it. Cut is right for hard, beat-matched switches. 0.5s or 1s suits ambient material where a cut would be jarring.
The dissolve runs even when the transport is paused, so you can rehearse switches without playing the timeline.
6. Link the audio
Open the Audio Link tab in the right panel and choose your source:
- All timeline clips — reacts to the audio in your project.
- Live input — reacts to what is actually in the room. This is what you want for a set played to someone else’s music.
Set the master gain so the meters move across their range without pinning. Then use the per-band trim to decide what drives what: bass for scale and impact, treble for detail and shimmer.
A note on live input: the software cannot capture system playback directly on Windows. Feed it from a line input or an audio interface, or install a loopback driver such as VB-CABLE, which then appears as an ordinary input device.
7. Turn on Performance Mode
In the console’s Performance group. It drops preview anti-aliasing and supersampling, which buys frames where you need them. Exports are unaffected — this only touches what is on your screen.
Before you leave the desk
- Blackout is on a pad, and you have pressed it once to confirm.
- The output you are actually using has shown a frame.
- The Status block shows a sensible frame rate under real load, with your heaviest scene running.
- Your project is saved, and the media is inside the project folder — the Media tab shows what the project contains, which is the fastest way to spot a file that lives somewhere else on your laptop.
That last one matters more than it sounds. Media imported through the Media tab is copied into the project folder, so the project stays portable. Anything referenced from your desktop will be missing on the venue machine.
See pricing — one-time purchase, no subscription — or read the full user guide.