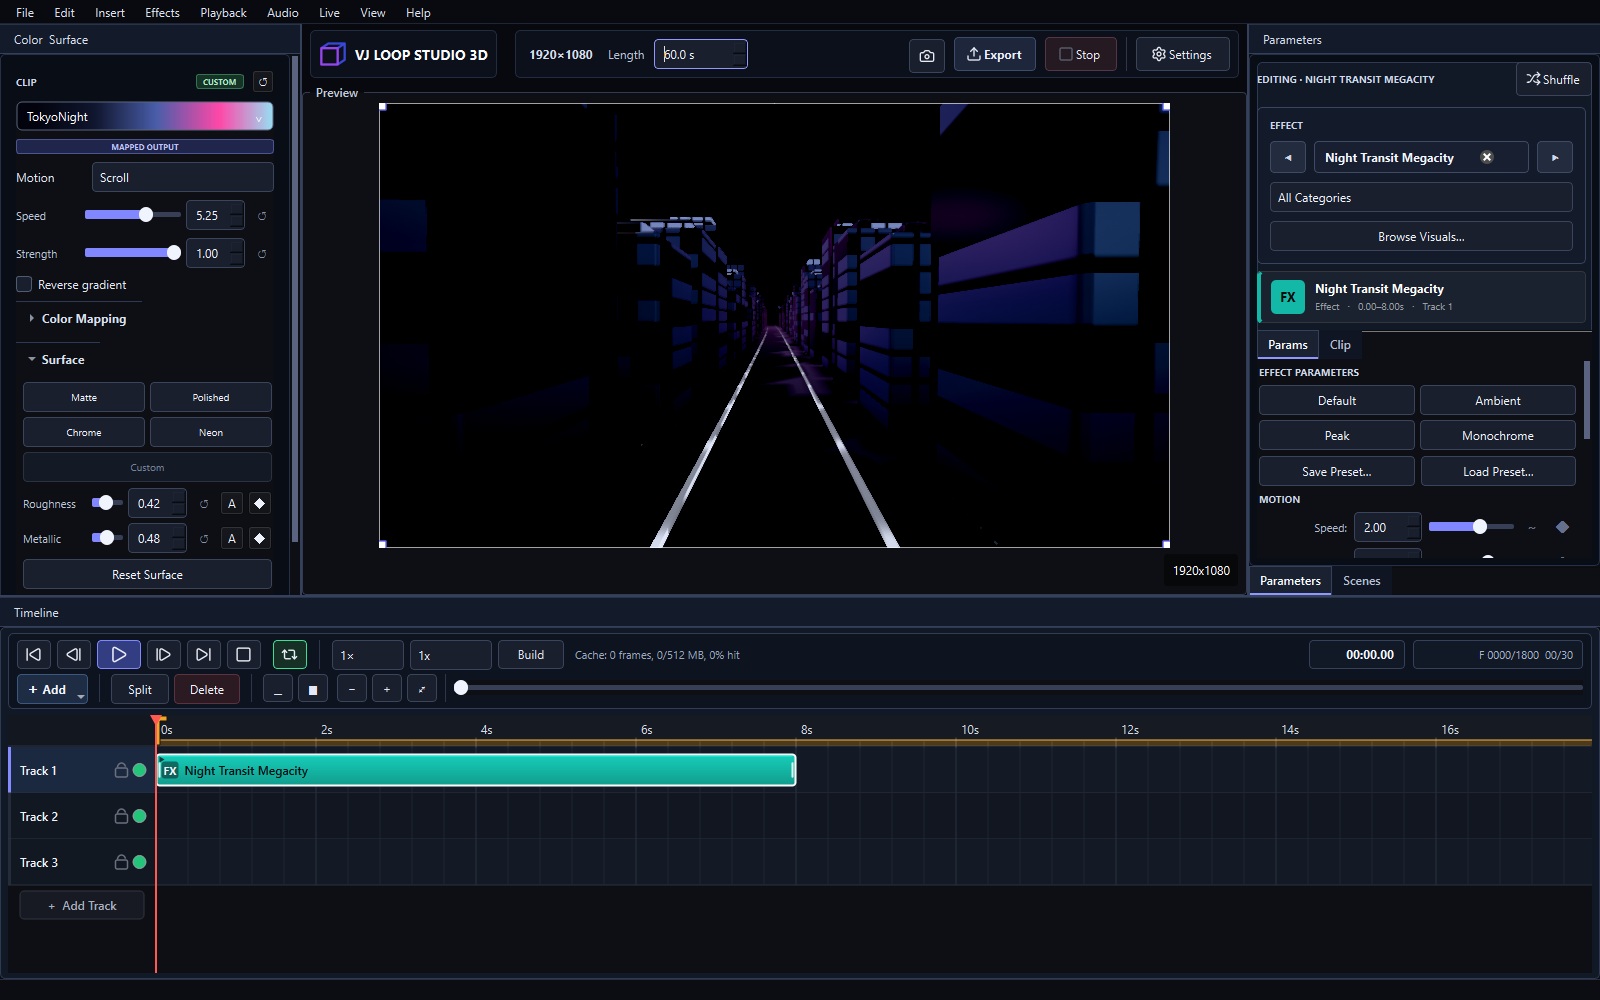
Making a VJ loop means producing a short video clip that repeats seamlessly — its last frame must flow into its first with no visible jump. This guide walks through the complete beginner workflow: planning the length, choosing a visual, making the loop seamless, and exporting.
If you want a hands-on first project instead, start with the first visual tutorial.
1. Pick a Loop Length That Matches the Music
A loop should be long enough to feel musical and short enough to stay in memory. The rule of thumb is 4 to 30 seconds, matched to a whole number of bars at the set’s tempo:
- 120 BPM, 8 beats per bar → one bar = 2 seconds, so 8 seconds = 4 bars.
- Choose a length that lands on a beat — the loop point is then invisible to the audience.
If you do not know the tempo yet, 8 seconds at 30 fps is a safe, flexible default.
2. Choose a Visual
In VJ Loop Studio 3D, open Browse Visuals and pick an effect from one of the eight groups. For a first loop, choose an authored look and change only a few controls — palette, speed, camera — so it stays easy to refine.
3. Make the Loop Seamless
The seamless loop is the entire point of a VJ loop, and how you achieve it depends on your tool:
- In VJ Loop Studio 3D the effects derive their motion from the project’s loop phase rather than from elapsed time. The last frame therefore continues into the first by construction — nothing to fix manually.
- In general video tools (After Effects, Resolume, Premiere) you must engineer it yourself: match the first and last frame, or crossfade the ends, and scrub the timeline at the loop point to check for jumps.
4. Set Resolution for the Destination Screen
Export at the resolution of the screen it will play on:
- 1920×1080 covers most projectors, club screens, and streams.
- LED walls often need a custom size matching the wall’s actual pixel count (for example 768×384). Scaling a 1080p file down to fit costs sharpness — render it native instead.
5. Audio-Reactive Loops (Optional)
If the loop should react to music, link parameters to the audio: bass, mid, treble, loudness, or detected beat. In VJ Loop Studio 3D, analysis runs on your input device in real time, so the same project works live or rendered.
6. Export
Choose a format for the destination:
| Use case | Format |
|---|---|
| Club screens, streams, projectors | MP4 (H.264) |
| Mixers and media servers | MP4 or MOV (ProRes) |
| LED walls / unusual sizes | MKV or AVI, native resolution |
| Short social clips | GIF |
VJ Loop Studio 3D exports MP4, MKV, AVI, MOV, and GIF up to 8K, and can also send visuals live via Spout or NDI instead of rendering files.
7. Loop Library Workflow
Keep a folder per event with loops named by BPM and mood (e.g. 120bpm_energy_8s.mp4). Name them consistently and your playback workflow in Resolume, OBS, or any player becomes trivial — no more digging through unnamed files mid-set.
Ready to generate your first loops? See what VJ Loop Studio 3D offers or jump straight to the first visual tutorial.