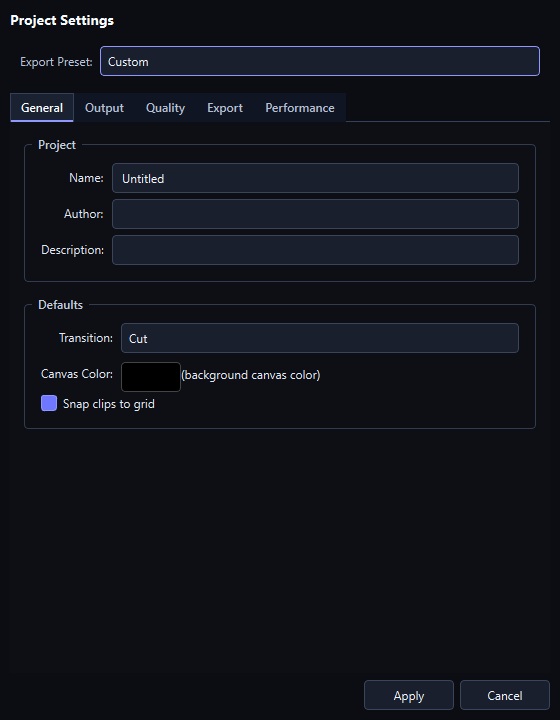
Export is where a good-looking preview becomes a file somebody else has to play. The settings that matter depend entirely on where it is going, so this guide is organised by destination rather than by dialog.
Export at a glance
| Containers | MP4, MKV, AVI, MOV, animated GIF |
|---|---|
| Codecs | H.264 (libx264), H.265/HEVC (libx265), VP9, MPEG-4 |
| Resolutions | HD, Full HD, 2K, 4K, 8K, or any custom size |
| Platform presets | YouTube 1080p and 4K, Instagram Square, TikTok / Reels, VJ Loop (ProRes-grade), LED Wall 4K, Draft Preview |
| Audio | The project song is muxed into the finished file unless you turn it off |
| Looping | Seamless by construction — effect motion is derived from loop phase |
Start from a preset
The export dialog ships presets that set resolution, framerate, container, and codec in one click:
| Preset | Resolution | FPS | Container / codec |
|---|---|---|---|
| YouTube 1080p | 1920×1080 | 60 | MP4 / H.264 |
| YouTube 4K | 3840×2160 | 60 | MP4 / H.265 |
| Instagram Square | 1080×1080 | 30 | MP4 / H.264 |
| TikTok / Reels | 1080×1920 | 30 | MP4 / H.264 |
| VJ Loop (ProRes-grade) | 1920×1080 | 60 | MKV / H.265, no audio |
| LED Wall 4K | 3840×2160 | 60 | MKV / H.265, no audio |
| Draft Preview | 1280×720 | 30 | MP4 / H.264 |
Pick the closest one, then change only what you need. Everything remains editable afterwards — the preset is a starting point, not a lock.
By destination
A club, a projector, or a media server
Use VJ Loop (ProRes-grade), or a custom size matching the venue’s playback resolution.
The reason for the high fidelity: your file will probably be decoded, scaled, and possibly re-encoded before it reaches the screen. Every one of those steps costs quality, and they compound. Starting from a Master-tier file means the loss is invisible; starting from a Good-tier social-media export means it is not.
Deliver H.264 in MP4 unless you have confirmed the playback machine handles HEVC. Venue hardware is conservative and often older than you expect.
An LED wall
Export at the wall’s native pixel count using a custom resolution. LED walls are rarely a standard size — 1408×768 and similar odd dimensions are normal — and scaling a 1080p file to fit costs sharpness on a display that has very little to spare.
Two further points specific to LED:
- Keep the detail coarse. A 10 mm pitch wall cannot resolve a fine lattice. Reduce effect density before exporting rather than hoping the processor handles it.
- Watch the black level. LED panels produce genuine black, so high-contrast neon looks superb — but any noise in the dark areas is also fully visible. A Master-tier encode suppresses it.
See the LED workflow guide for the full treatment.
YouTube
Use the YouTube presets. They match what the platform re-encodes to, so you are not paying for bits that get thrown away. 4K60 uses HEVC because YouTube accepts it and it halves the upload for the same quality.
Upload at 60 fps if the content moves — tunnel and strobe content at 30 fps judders noticeably after the platform’s own encode.
Instagram, TikTok, Reels
The square and vertical presets handle the framing. One composition note: a tunnel composed for 16:9 loses its corners in a 9:16 crop, and the vanishing point ends up too high. Set the project to the vertical size and check the framing before exporting rather than cropping afterwards.
A GIF
Choose the gif container. Bitrate and codec settings do not apply. Keep it short, small, and low-motion — GIF has no interframe compression, so a 10-second 1080p loop will be enormous and look worse than the MP4 it came from.
Quality
Instead of a fixed bitrate, exports are controlled by a quality tier:
- Draft — the fast check-render tier: smallest files, softest picture.
- Good — a compact default for social delivery.
- High — the platform-preset default: sharp, sensible file sizes.
- Master — the highest fidelity the encoder offers, for venues, media servers, and any file that will be re-encoded later.
Each tier is a CRF value — the encoder is told “keep this quality”, not “use this many bits” — so the same tier scales naturally to any resolution. A Master-tier 8K render simply costs more disk than a Master-tier 1080p render.
The bitrate box still exists for a specific ceiling: if a file must fit under a size limit, work backwards — target bits = size in megabytes × 8 ÷ duration in seconds, then subtract a little for audio — and type that number in.
Audio
If the project has a song, it is muxed into the finished file. This is what you want for a social clip and usually not what you want for a venue loop, where the audio will come from the DJ. There is an option to leave it out — the song still drives the in-app timeline and the effect reactions, it just does not end up in the render.
Remember that an export analyses the audio file offline rather than sampling a live input, so the reaction in the file is deterministic and repeatable. See the audio-reactive guide for why the render and the live preview differ.
Looping
Nothing special is required. Effect motion is derived from the project’s loop phase, so the last frame continues into the first exactly. The traditional fixes — crossfading the ends, trimming a few frames, freezing the last frame — all make a seamless loop worse here, because they introduce a discontinuity where there was none.
If a loop does appear to jump, the cause is almost always a clip on the timeline whose own content is not loop-length, not the effect.
A quick checklist before you render
- Is the resolution the destination’s actual resolution?
- Is the framerate what the playback chain runs at?
- Is the codec one the playback machine has definitely decoded before?
- Is the quality tier set for what the destination can handle (Master for re-encodes, High or below for direct social delivery)?
- Should the song be in the file, or not?
- Have you looked at the loop point once, at full size?
Frequently asked questions
- Which export preset should I use for a VJ loop?
- VJ Loop (ProRes-grade) for anything that will be played back live or re-encoded later — it is MKV/H.265 at the Master quality tier without audio, leaving enough headroom that a media server or a second encode does not visibly degrade it. Use the platform presets only when the file is going straight to that platform.
- What resolution should VJ loops be?
- Match the destination. 1920×1080 covers most projectors and streams; an LED wall wants the wall’s own pixel count, which is often an unusual size — use a custom resolution rather than scaling a 1080p file. 4K is worth it only if the playback chain is genuinely 4K end to end.
- How do I export a seamless loop?
- Just export. Effect motion is derived from the project’s loop phase rather than wall-clock time, so the final frame lands exactly where the first begins. You do not need to crossfade the ends or trim frames — the usual tricks for fixing a loop are unnecessary here and will make it worse.
- H.264 or H.265 for VJ loops?
- H.264 for compatibility — every media server, projector, and social platform decodes it. H.265/HEVC for 4K where file size matters and you control the playback machine. Some hardware media players still refuse HEVC, so do not send it to a venue you have not tested.
- Why is my exported file huge?
- High-detail neon on black is genuinely hard to compress, and the Master quality tier encodes at the highest fidelity deliberately. If size matters more than fidelity, drop to High or Good — the quality tiers drive the encoder through CRF, so a lower tier simply allows more compression — or deliver through a platform preset, which uses a bitrate scaled to the resolution and framerate.
- Can I export a transparent background?
- The effects support a background mode that keys dark areas to transparency for compositing inside the app, but the MP4/H.264 delivery path has no alpha channel. To composite in another application, send a live Spout or NDI feed and key it there, or export over a solid colour you can key downstream.
Where to go next
- Send visuals live instead — Spout and NDI into Resolume, OBS, and TouchDesigner.
- Preparing video for an LED workflow — pixel pitch and contrast.
- The complete effect gallery — all 124 effects.