This walkthrough creates a short 1920×1080 loop using a built-in effect. It uses the same project, preview, timeline, and export workflow as a larger production.
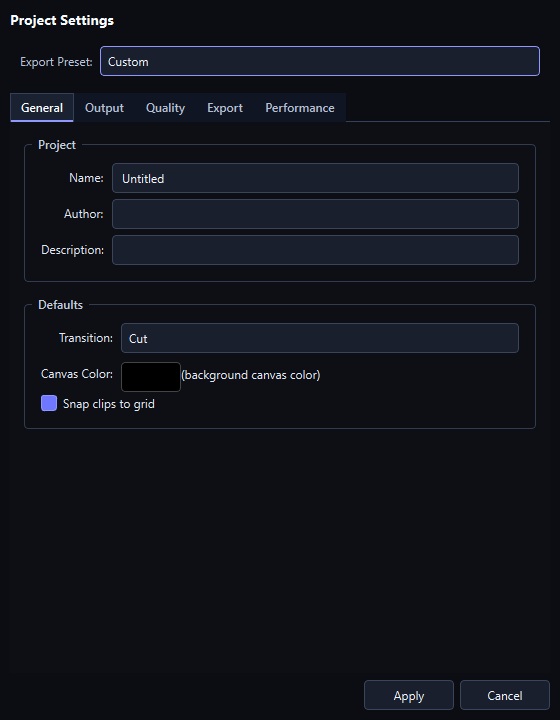
1. Set the project
Open Settings and choose 1920×1080, 30 fps, and an 8-second duration. MP4 with H.264 is a practical first export format.
2. Choose a visual
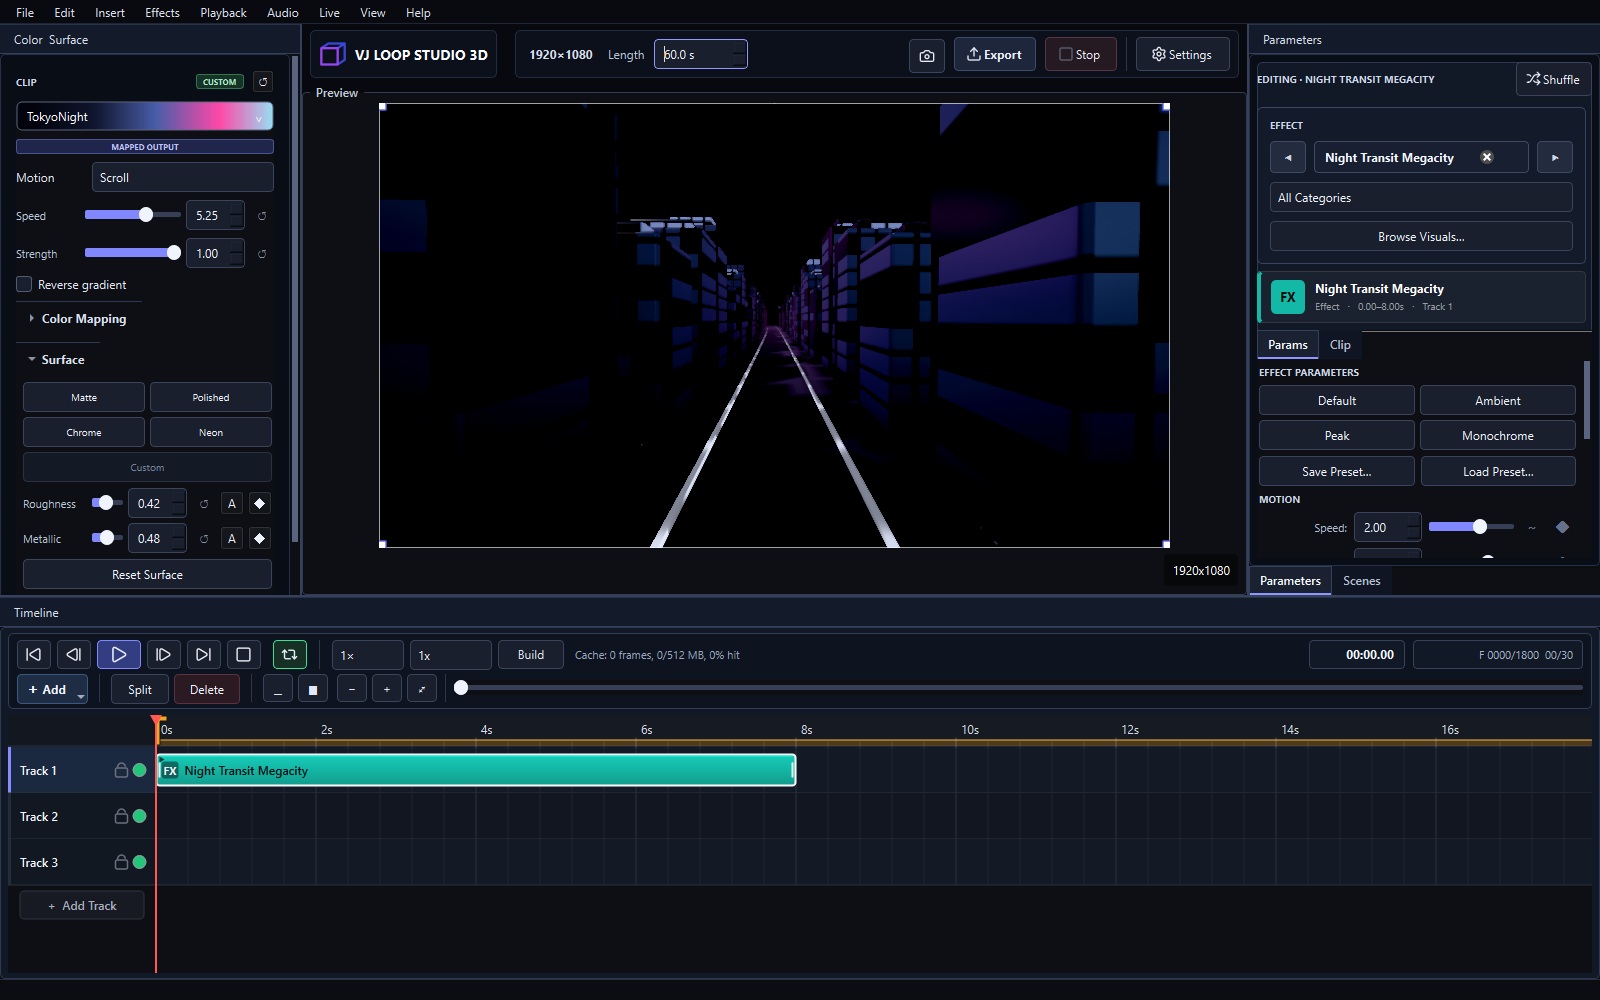
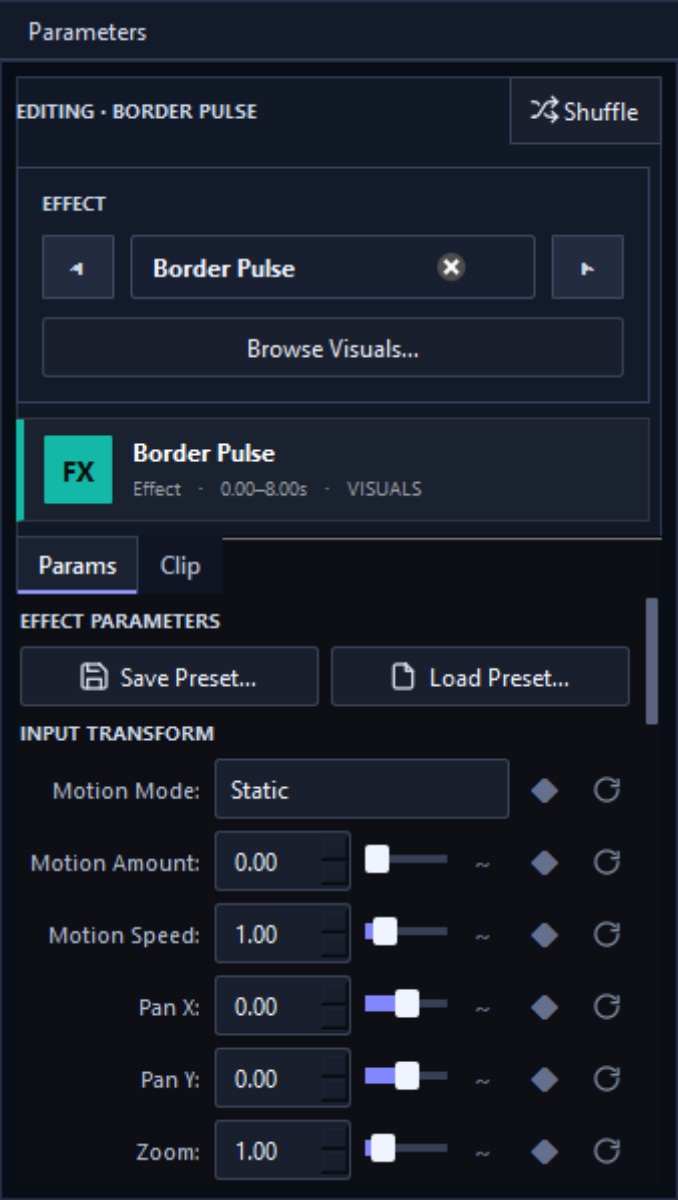
Open Browse Visuals in the Parameters panel. Select Neon City, or choose any scene from the five effect families.
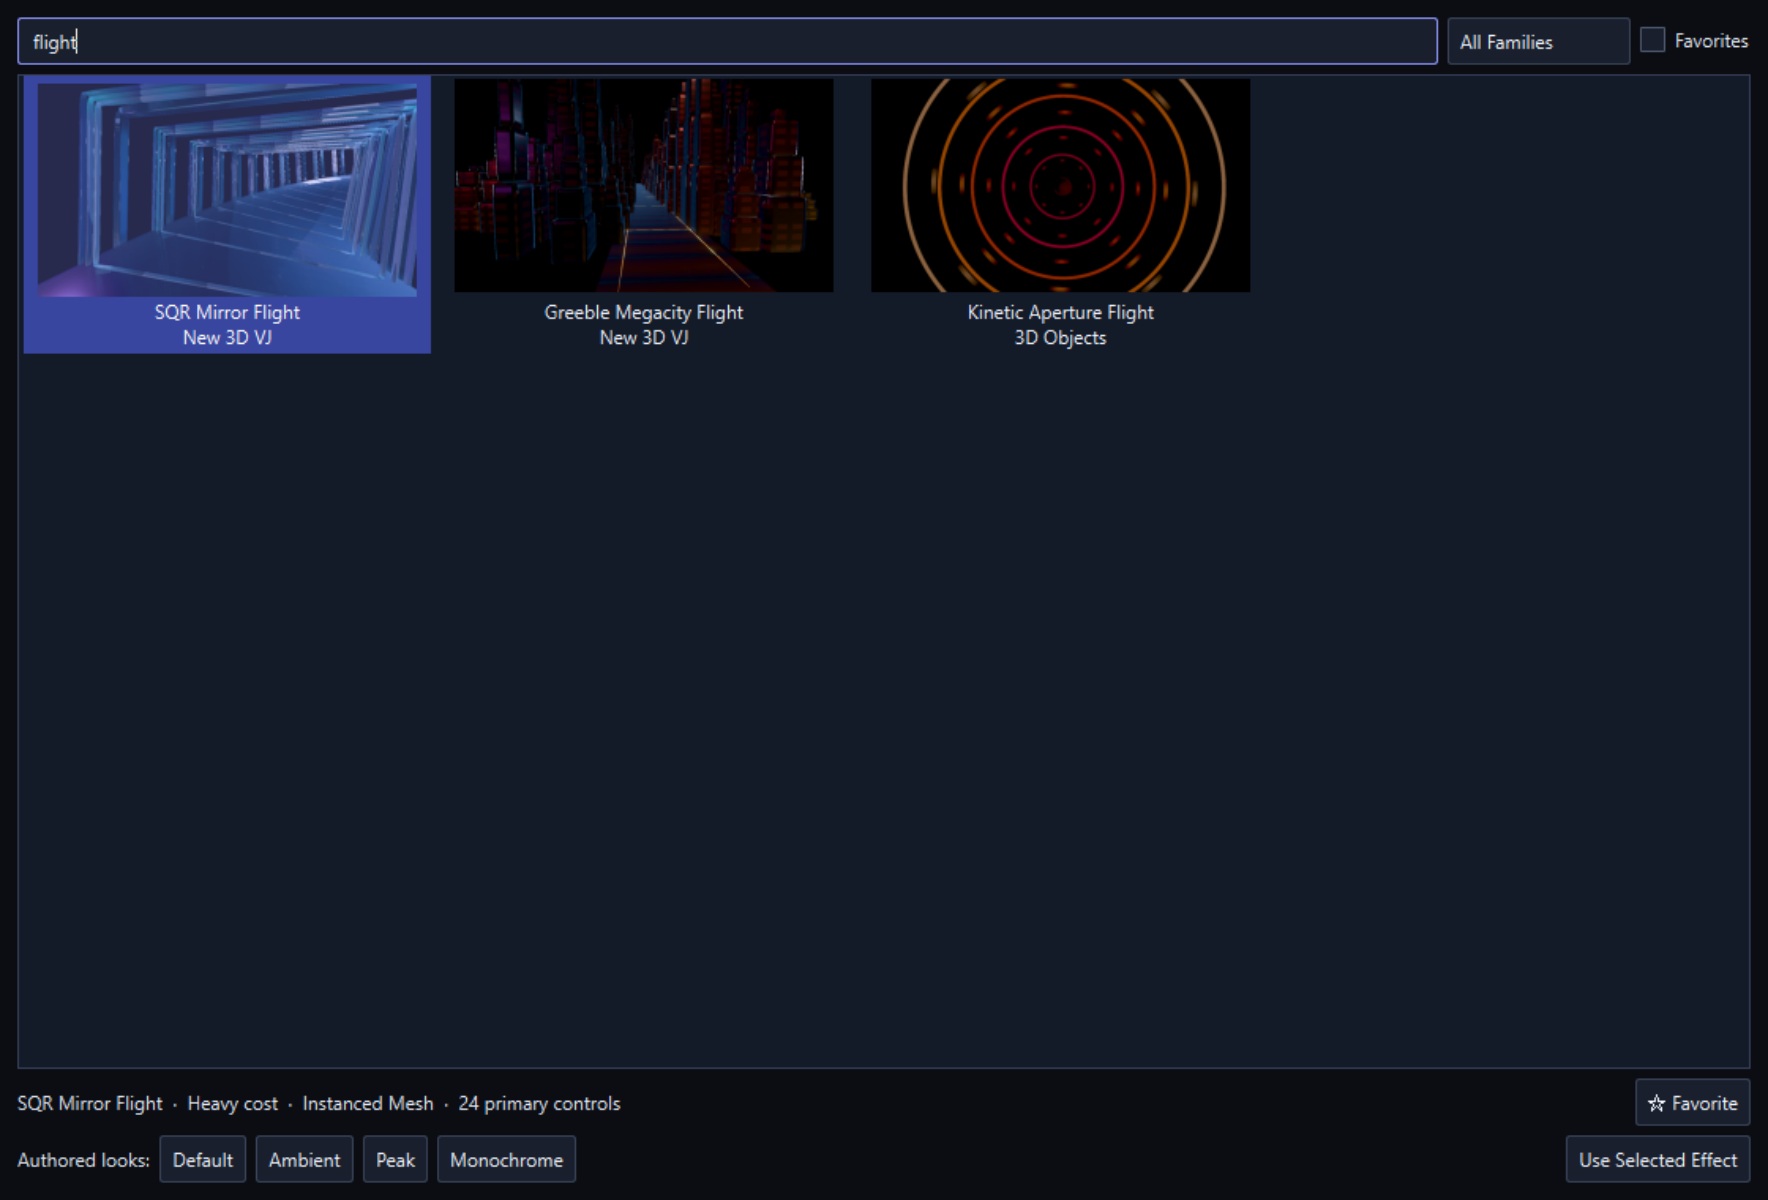
The selected visual appears as an effect clip on the timeline. Start with an authored look, then adjust only a few controls so it remains easy to compare changes.
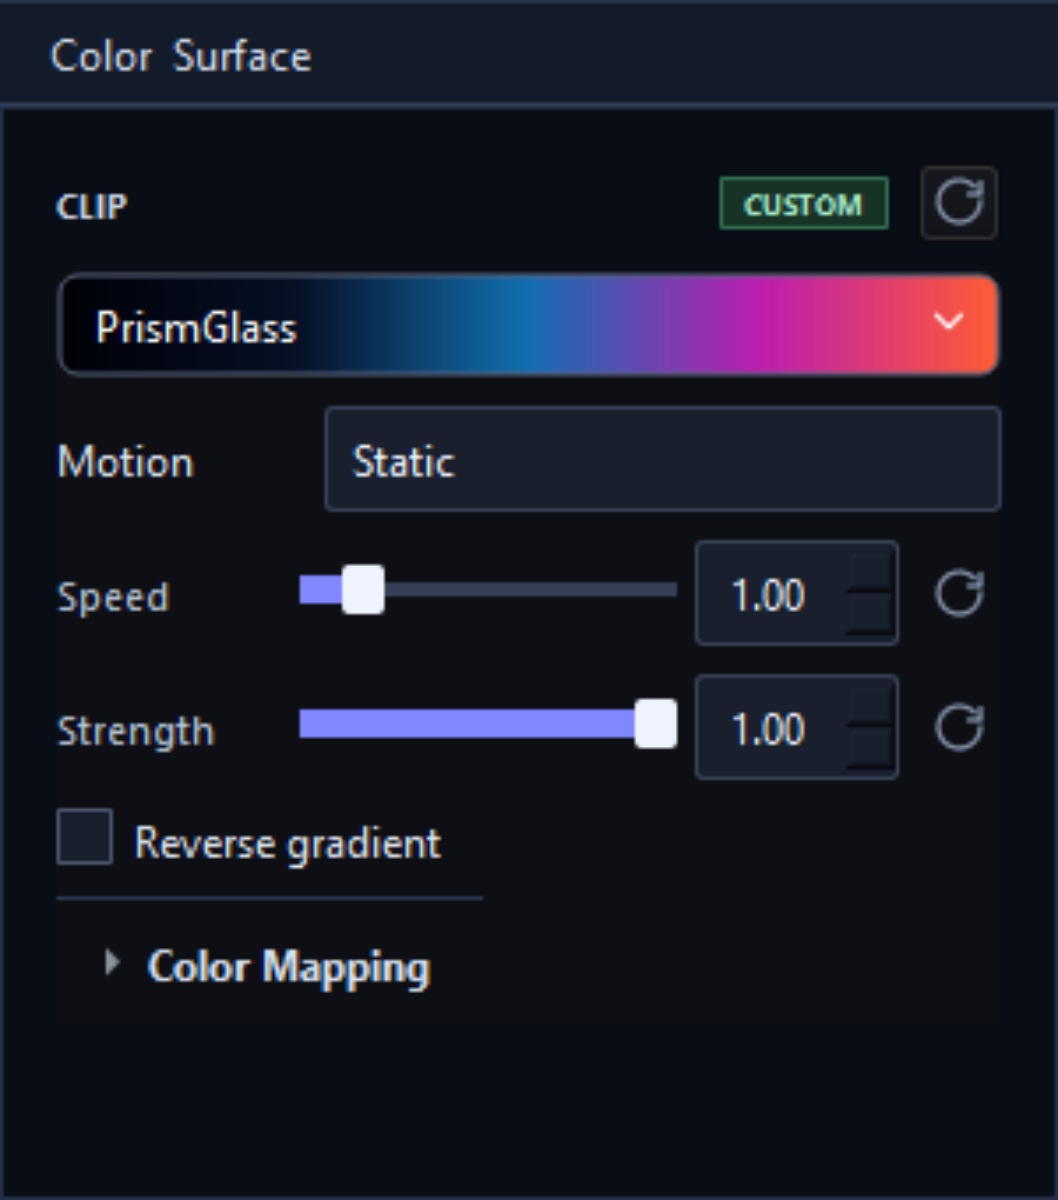
3. Establish color and surface
Choose a palette in the Color panel and set its motion speed. For this scene, a cool palette with moderate roughness and a small amount of emission keeps the road and architecture readable.
4. Shape motion
Use the effect controls in the Parameters panel to set camera speed, depth, density, or other controls exposed by the selected effect. Play the timeline with Space, then scrub near the loop boundary to check the transition.
5. Adjust the timeline
Trim the effect clip to the intended duration. Add fades only when you want a transition; a standalone procedural effect normally fills the full work area.

6. Export a test
Click Export and render a short test. Check color, motion speed, loop timing, and compression before rendering the final file at full quality.

Next, try the complete 101-effect gallery or read the full user guide.